Tuesday, 18 March 2014

Project #4 - Purple Heart Table Leg

There are certain woods that are brightly coloured. Purple Heart is one of these. When you cut the wood and work with it, it is a brown colour, but if left to oxidize, it becomes a brilliant purple colour.
The end of the Purple Heart that has oxidized bright purple

I sanded one side of the block that I was turning, and you can see the differences in colour between the sanded part (the brown), and the un-sanded part (the purple).
Difference in colour between oxidized and non-oxidized
I then turned this block to make it into a fancy looking table leg. I am planning on making a coffee table, and using this piece as the main leg.

Purple Heart table leg almost complete
I still need to do more sanding and cutting, and I need to let it oxidize for a while to get its nice purple colour.


Sunday, 9 March 2014

Project #1 - Pine Bowl Completed

This was what the bowl looked like before final sanding and varnishing.
The almost finished Pine Bowl

After varnishing... the finished product!

The completed Pine Bowl!

The completed Pine Bowl - Different Angle
The completed Pine Bowl - Other side of the bowl


Tuesday, 4 March 2014

Project #3 - Calabash bowl from Blue Gum log (Part 1)

We recently felled a Blue Gum tree that was growing in our garden. After letting the wood dry out for a while, I found a log that I thought I would make a nice Calabash style bowl.

Log of Blue Gum

Once the log was selected, I needed to debark it and cut it level so that it could be turned on the lathe.

The log after being debarked
After some work on the lathe, the outside is taking a nice shape.

Outside shaping of the Calabash
Now comes time to hollow out the inside.


Friday, 28 February 2014

Project #2 - Turning the Meranti Bowl (Part 2)

After some final shaping and sanding, it was time to start carving out the inside of the bowl.

Sanded outside of bowl
After sanding, you can see the beautiful grains of the wood. I have left the little stand at the bottom so that I can attach the bowl to the lathe without ruining the shaping that I have already completed.

Bowl ready to be turned on the inside
I have attached the bottom of the bowl, and now it is time to start carving out the inside.

Inside of bowl carved out

The inside has been carved out, and it is time to remove it from the lathe by cutting off the small stand.

The almost finished Meranti Bowl!
Just needs a little more sanding, and then some varnish to be complete!


Wednesday, 26 February 2014

Project #2 - Turning the Meranti Bowl (Part 1)

I cut the block of wood into a square, and then used a jigsaw to cut off the corners to make it slightly easier to turn.

Block with corners cut off
Once I had taken off the edges and turned it into a barrel, it was time to begin shaping the bowl.
Barreled block
Shaping the outside of the bowl
You can see the finger joint that I have incorporated in the bowl.

Monday, 24 February 2014

Project #2 - Bowl From a Block

My second project is also made from a block of wood laminate that I found in our garage.

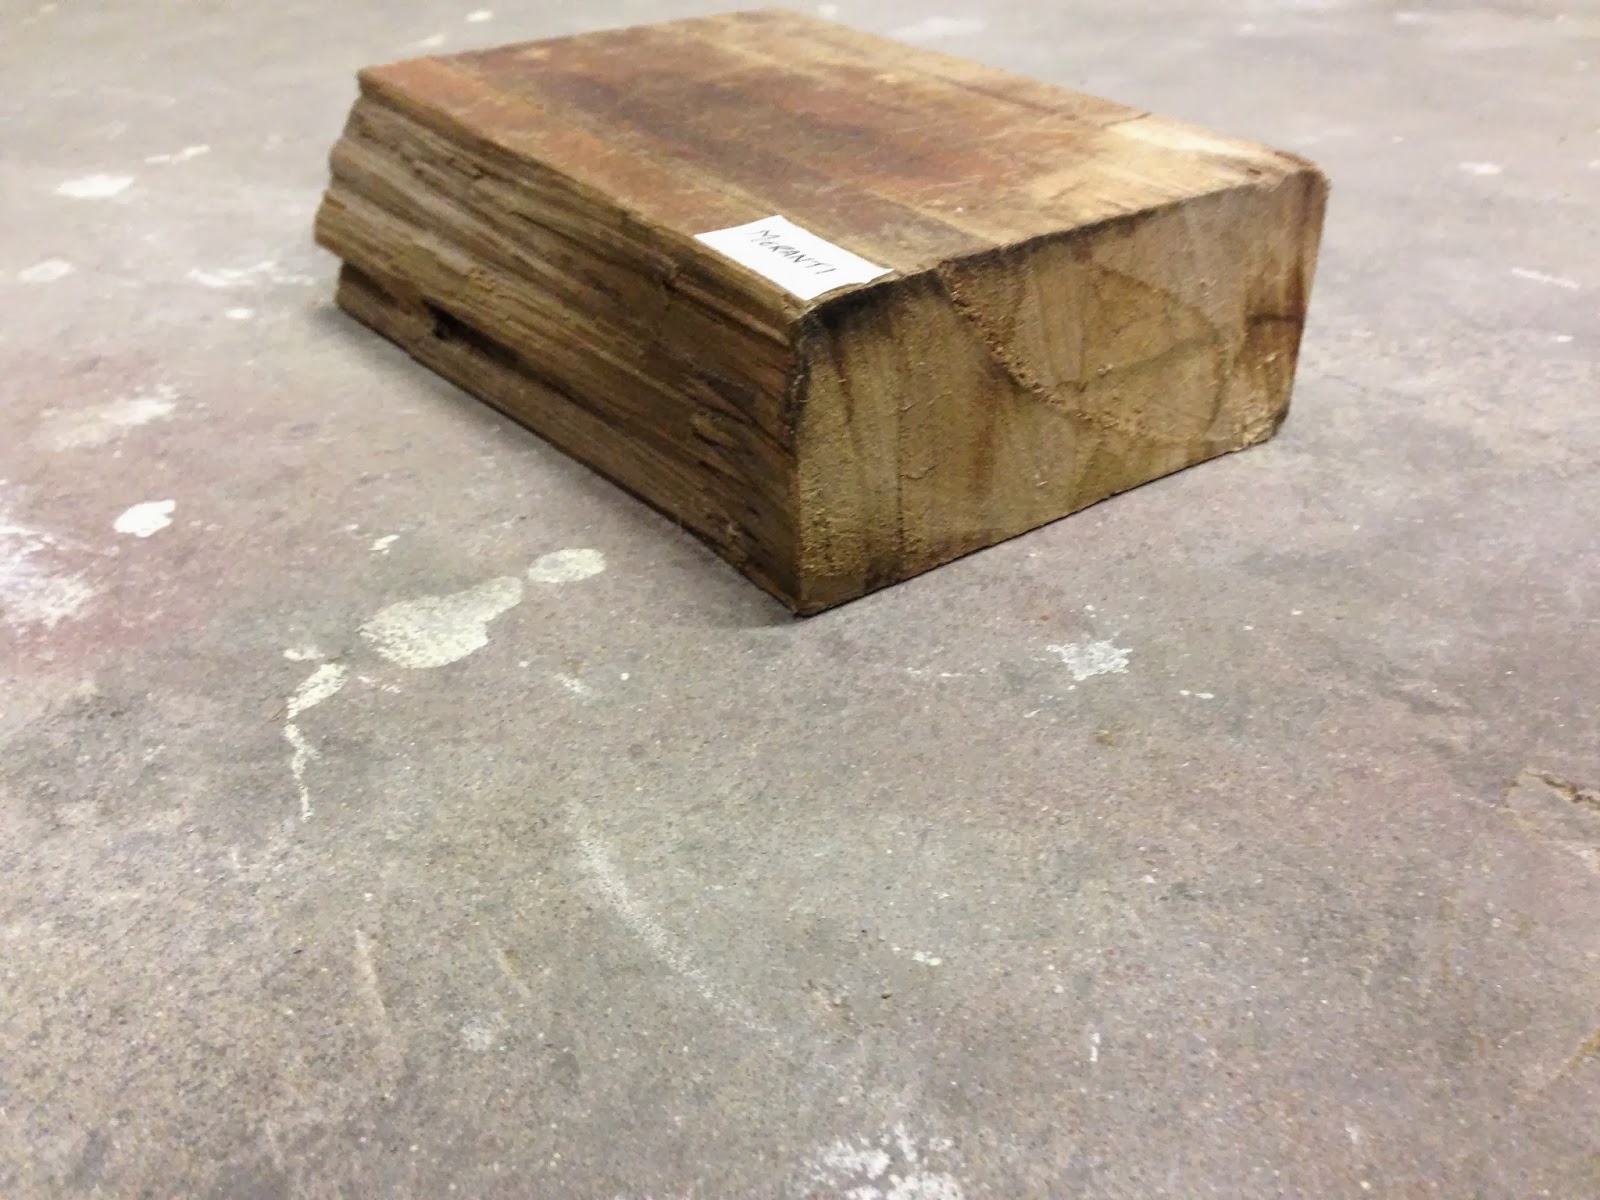
I had no clue what type of wood it was, and with the weathering and aging of the wood, it was almost impossible to tell!

Weathered block of wood

I took the block of wood down to Rare Woods and asked them. They planed the wood for me, and told me that it was Meranti.

Planed block of Meranti wood

The block of wood also had an interesting joint which I want to incorporate into the final bowl. The joint is known as a finger joint.

Finger Joint in block

Saturday, 22 February 2014

Project #1 - Pine Bowl

For my first project, I decided to make a bowl.

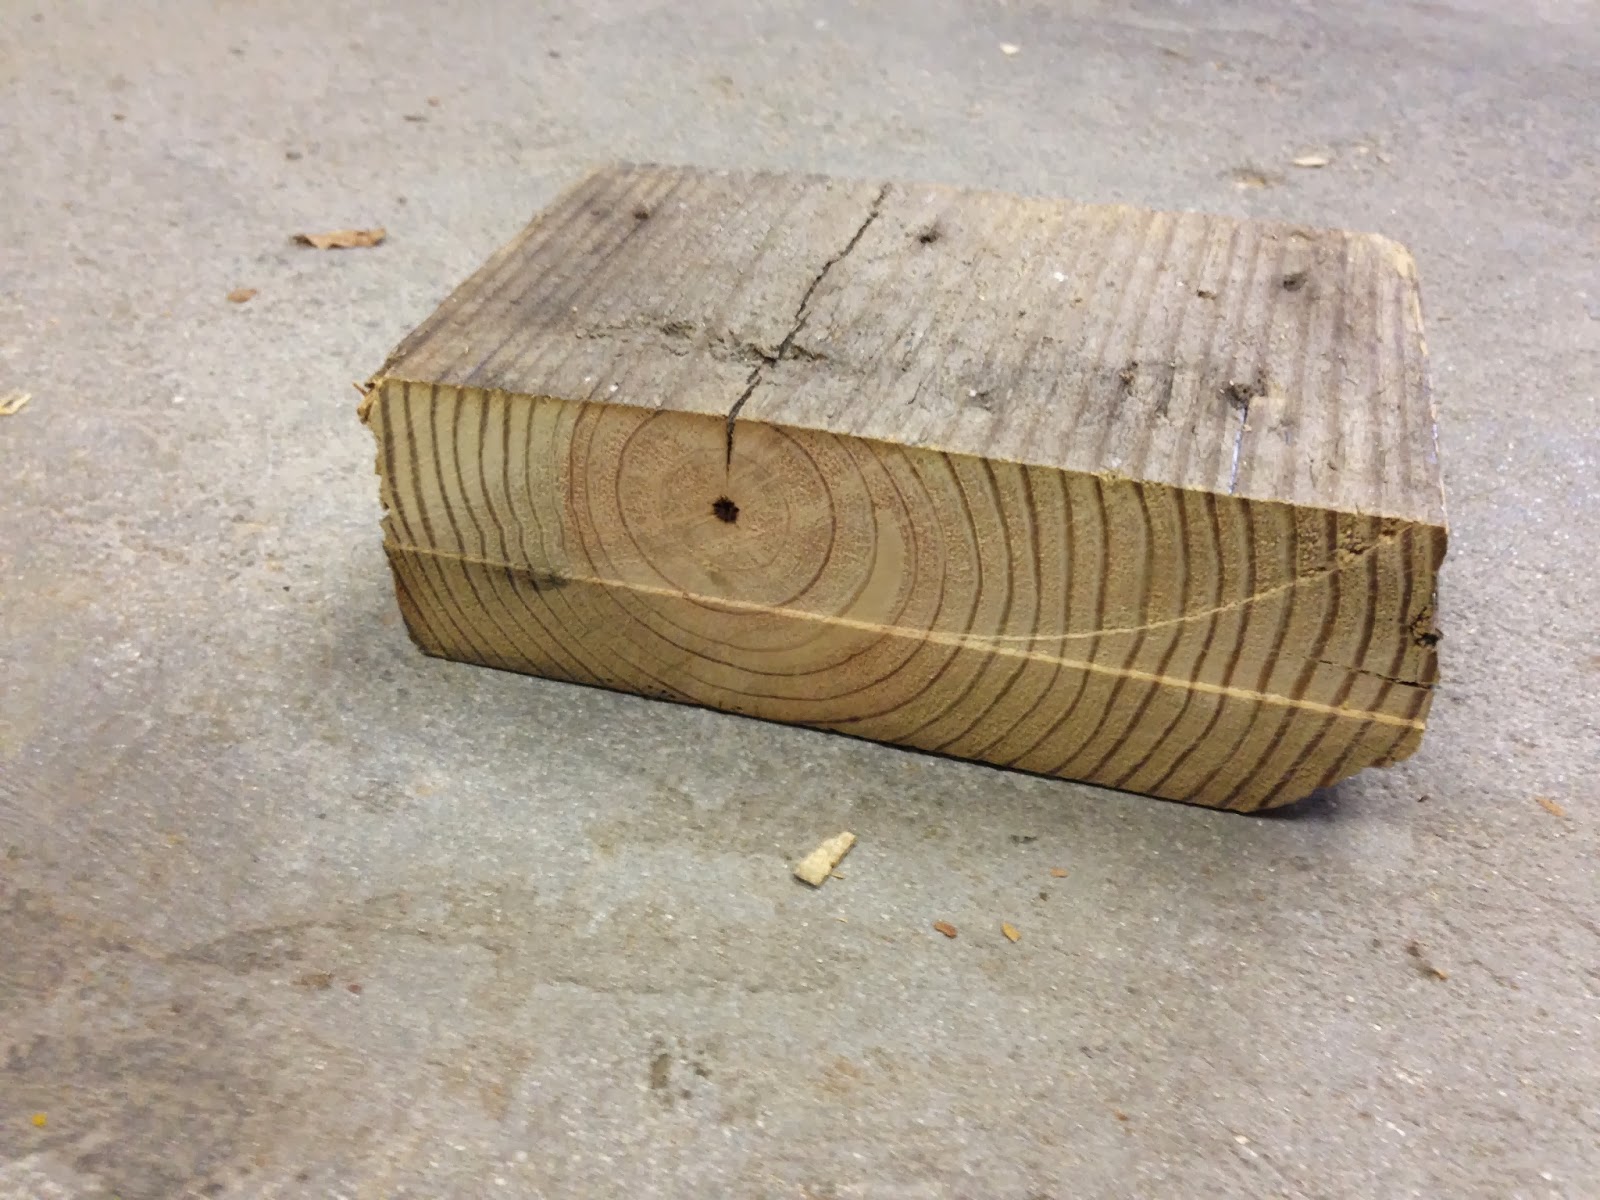
I found a large beam that used to be in our roof, and chopped off a block of it. This beam was made of pine wood. It was not SA pine, but rather a pine from overseas that would have been imported back in the day when the house was built.

The block of wood from the end

The grain in the wood after cutting it through


After cutting and sanding, this is what the bowl now looks like...
The almost finished Pine Bowl!

Now it is time to add the varnish to give it a nice finish!